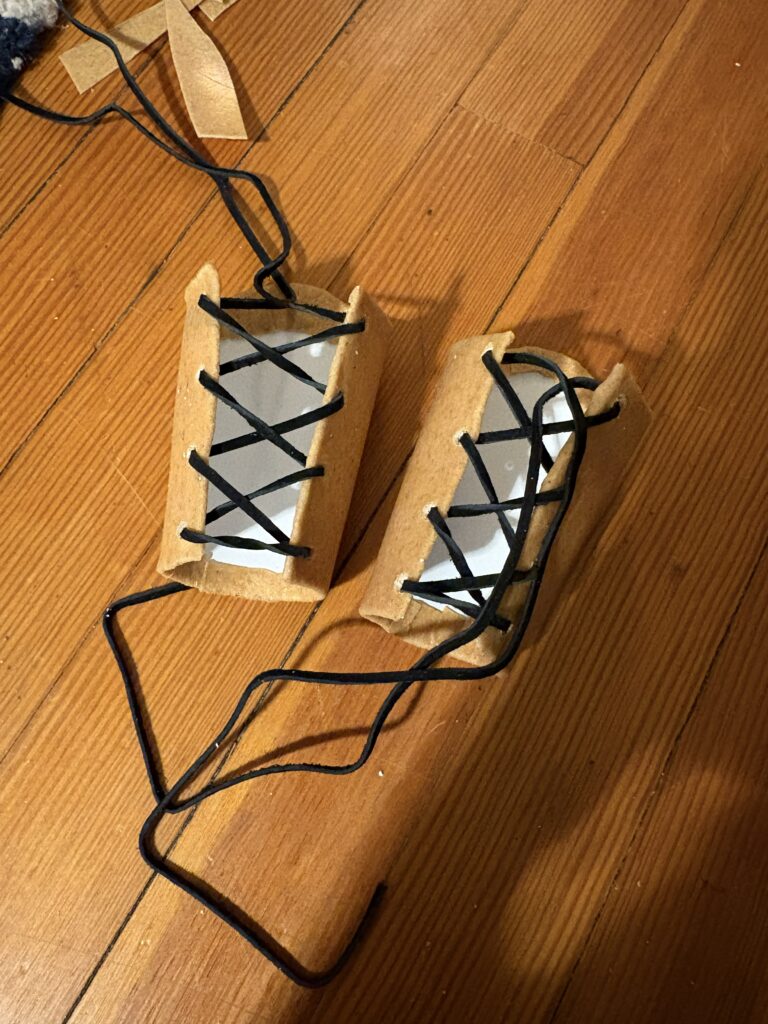

For this project I started with a paper pattern. I ended up using a plastic sign for my base, which allowed for it to be really flat which I really liked. I did also like how easy the sign was to mold, though it was not as easy as foam was. I used an exacto knife to ‘drill’ holes for the straps to go through. I really liked that because it gave me more control of the size and was still fairly circular.
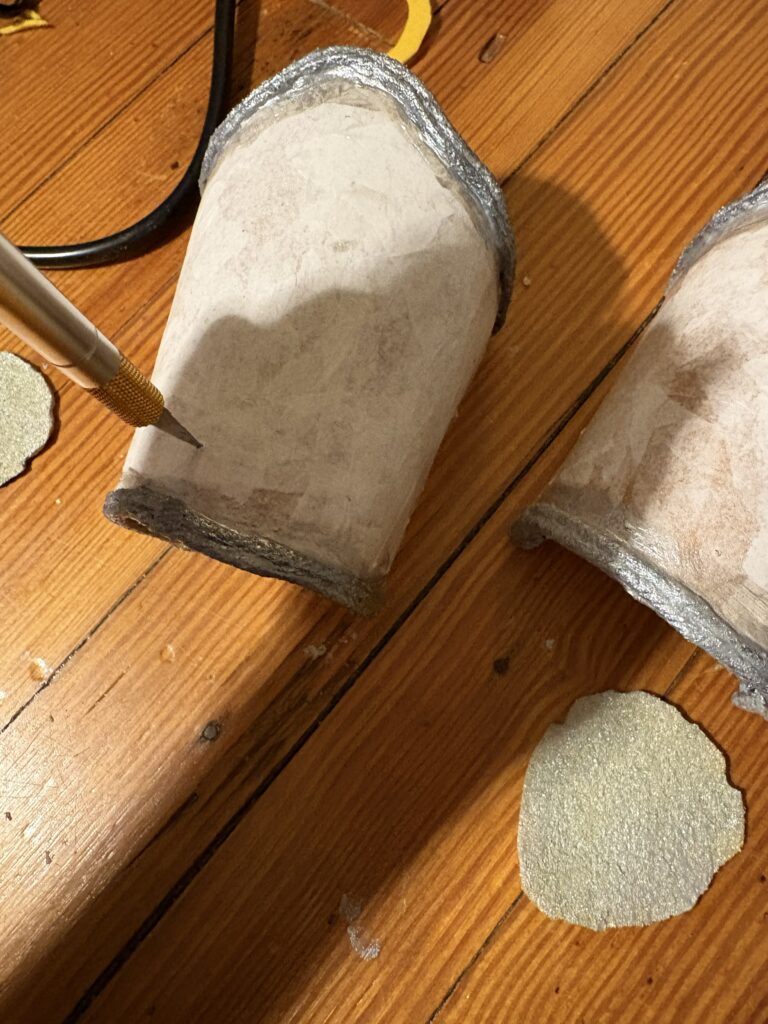
After putting on the worbla, I put yarn on the edge to give the border, which I later put crystal gel on. It was effective in giving it dimension but I do not like the texture of the yarn. Since I used a navy yarn, it did give the silver a bit more dimension, which I wish I has used again later on for the lion crest.
Then I paper mached to look similar to leather. I think it gave it a good texture.
I had used furniture brads for the round bits, so I had to drill in with the exacto knife where I wanted to put them so they could lay flush. I think it worked really well and helped hide the hot glue.
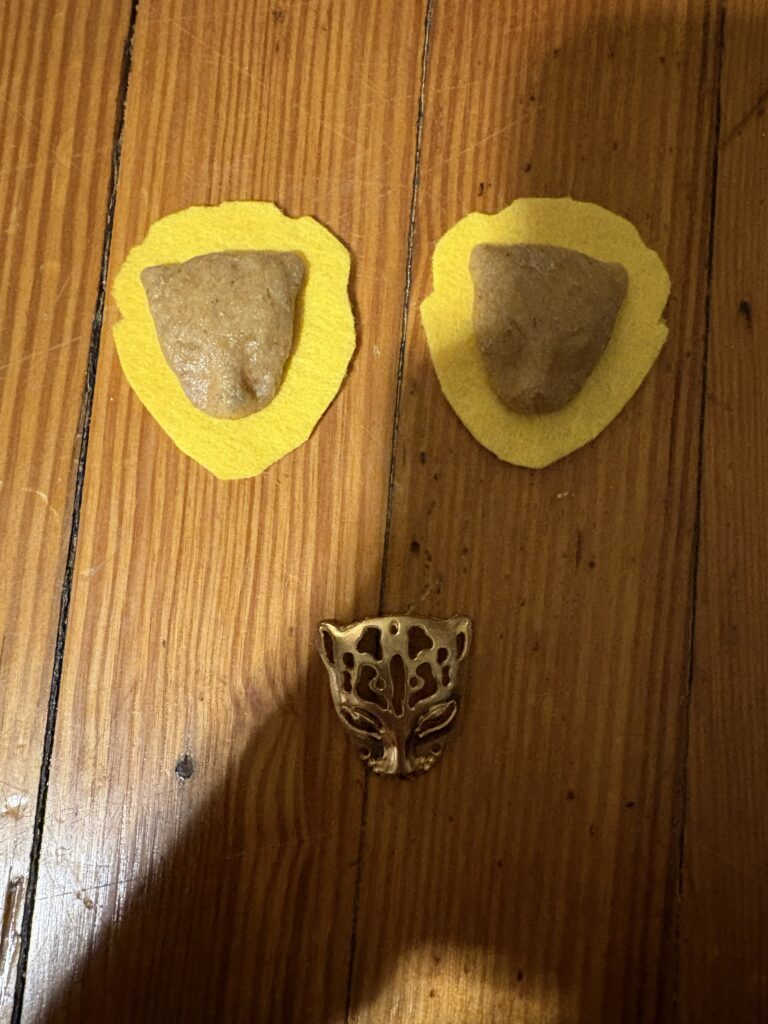
I had the panther pieces from some shorts I thrifted a while ago. Luckily, I had just held onto them, so I put worbla on them to make the lions face. I used felt for the mane, though I wish I used a navy felt to have more dimension. I put crystal gel and paint on that and glued it together.
I think that I would have done hot melt glue details on the mane if I had done this again, but it slipped my mind at the time.
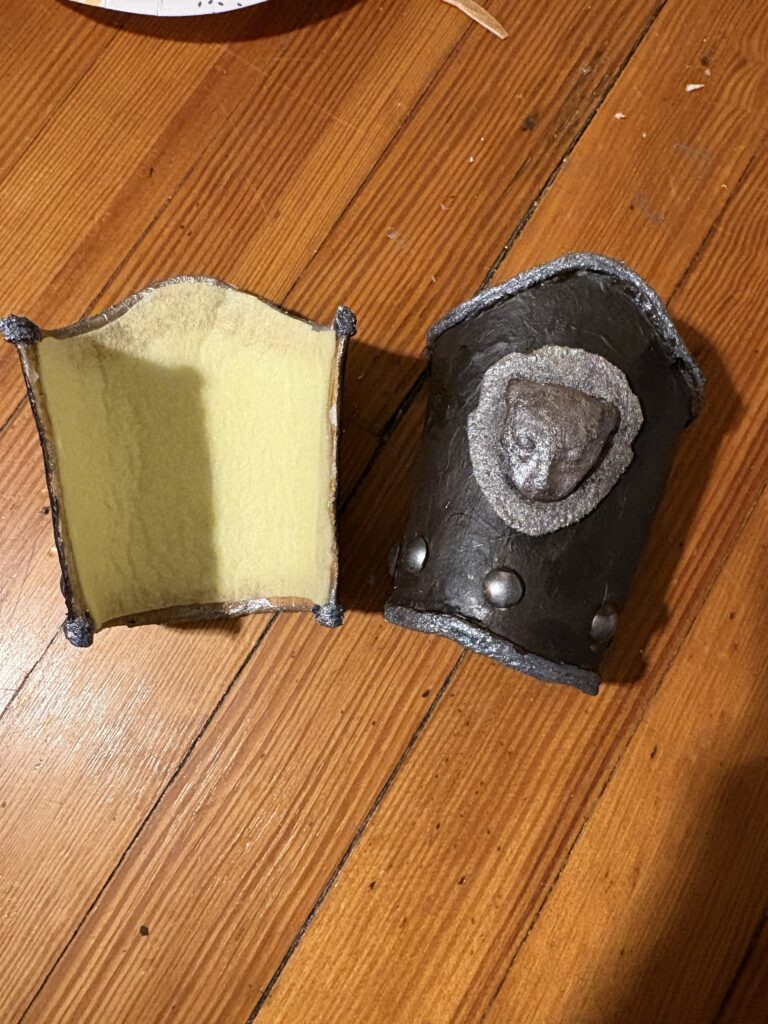
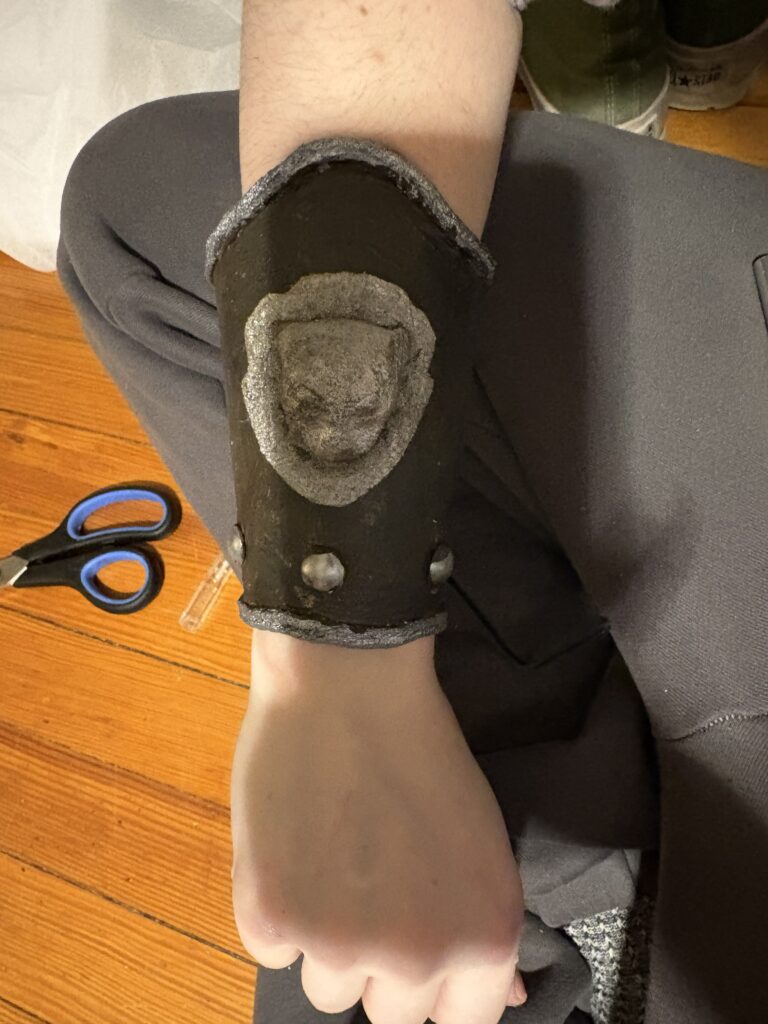
I finally painted everything and glued in a felt to make it slightly more comfortable to wear.
I am not the most pleased with this project, but with the circumstances I was working under at the time, I think it turned out alright.
If I did this again I would do a different mane for the lion crest and would give myself more time on everything. I would also worbla over the yarn to make it flatter and more pretty.